There are two kinds of people at a night party–one who simply wants to enjoy the night and one who definitely wants to stand out. If you’re the latter, you’re probably always busy preparing your outfit, doing your hair, and ensuring your nails are done before conquering the night.
While your outfit and hairstyle usually complement each other, your nails should tell a different story. Your nails, especially at night, should have an identity of their own. Imagine handing out your card to the bartender with your nails as dull as the color of the sky during a thunderstorm. You won’t want that, right?
Therefore, ensure that your nails stand out on their own, just like how you want to stand out in the crowd.
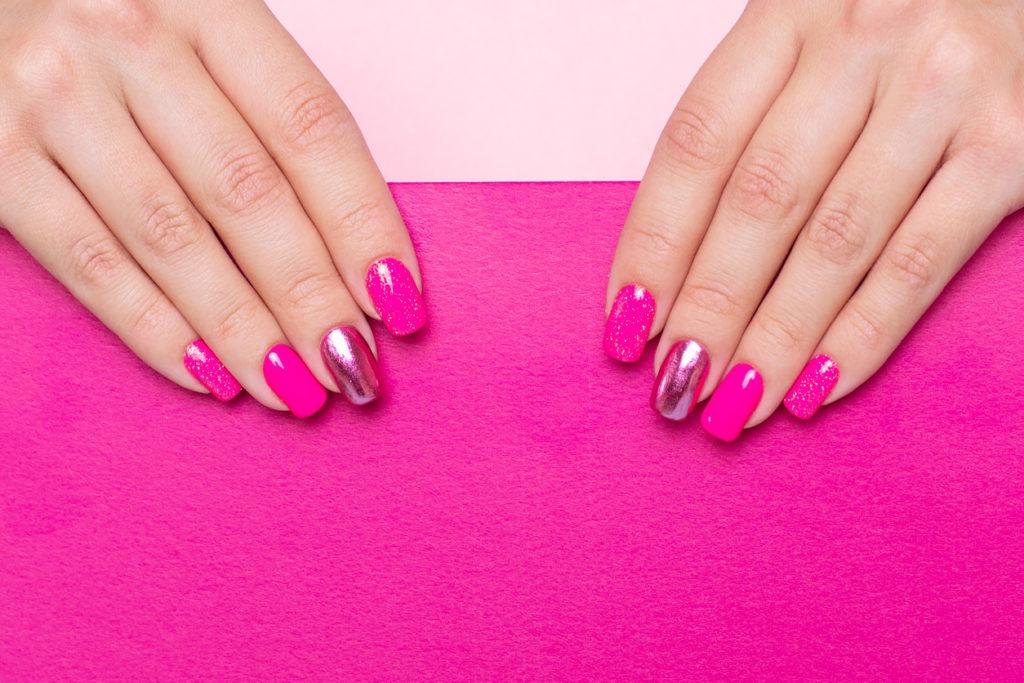
One way to do this is to have your nails painted with bright colors and sprinkled with blinding glitter. Although other colors, such as orange and yellow, could also give you that glow you’re aiming for, only the hot pink color could give you a bold and aggressive vibe while still maintaining your femininity. Hot pink is also usually associated with confidence and frivolity.
So, without further ado, let’s get you acquainted with doing a hot pink and glitter gel manicure so you can always slay your night out with friends. We’ll start by getting to know the needed manicure tools and the steps to achieve this nail look.
What you’ll need:
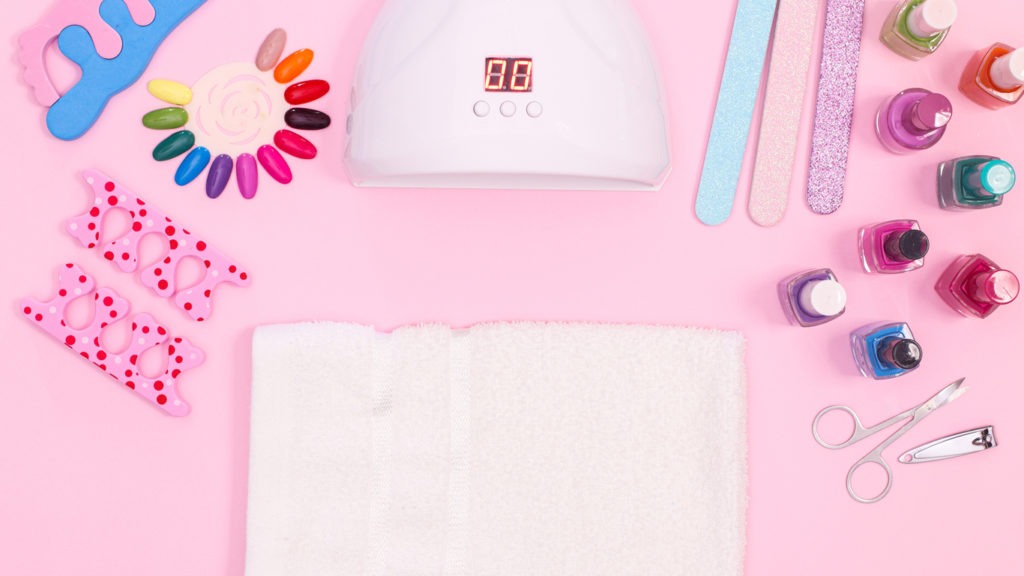
1. UV LED Lamp
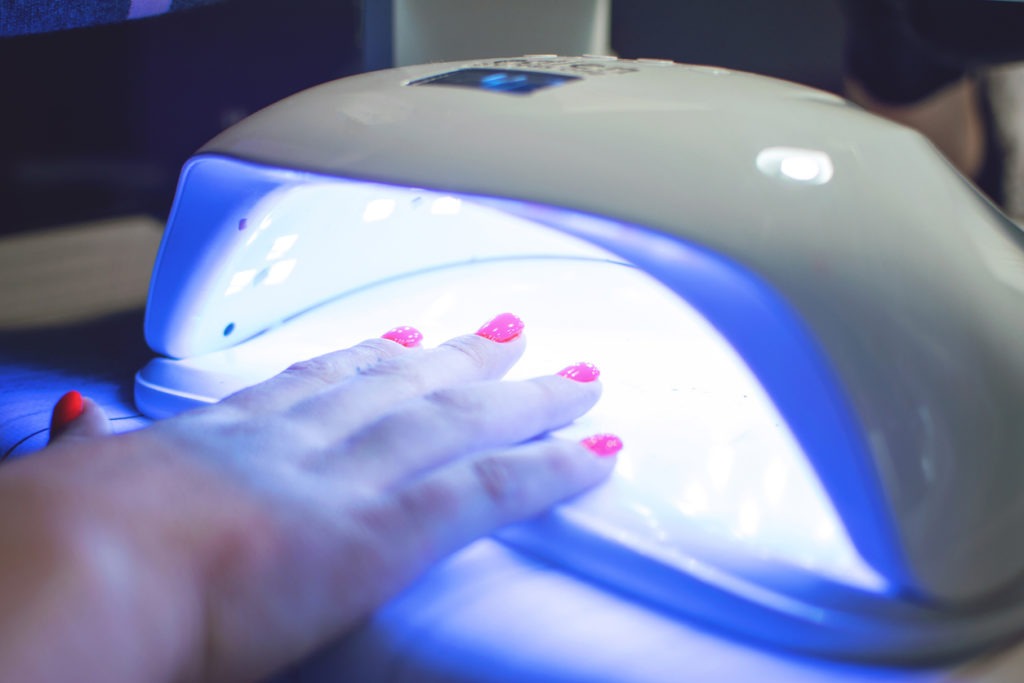
A glitter gel manicure will not be possible without a UV LED Lamp. This lamp allows for faster drying of the gel polish.
2. Gel Nail Primer
Just like a primer is needed before putting on a layer of foundation to ensure a smooth look, a gel nail primer is a vital component in a glitter gel manicure.
Gel nail primers, as the name suggests, prime the nail. It removes any remaining natural oils and grease on your nail plate, as these can result in your gel polish not properly sticking to your nails.
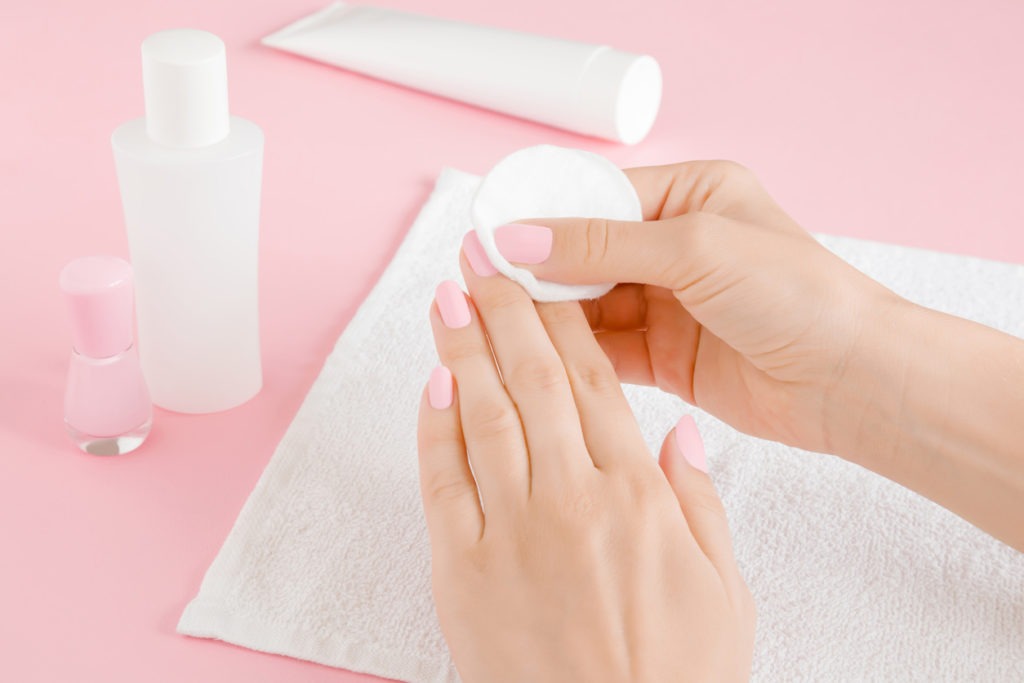
3. Gel Nail Cleanser
If you’ve been to a nail salon, you’ve probably noticed when your nail technician applied some kind of cleanser before and after applying gel polish. This is called a gel nail cleanser.
Gel nail cleansers are products used to clean your nails before gel polish is applied. The “before application” is intended to clean, soften, and remove all the possible dirt and grease build-up on your nails that may affect the outcome of your gel polish application.
Meanwhile, applying the gel nail cleanser afterward aims to remove the sticky residue on the top coat after the gel polish has cured to prevent your gel nails from looking dull and weak.
4. Gel Base Coat and Top Coat
These two go hand in hand with each other in ensuring that your gel polish will remain firm and last a long time.
The base coat acts as a sealant to prevent the oils from the nails from preventing the gel polish from adhering firmly. On the other hand, the top coat locks the manicure in place while at the same time giving your manicured nails either a shiny or matte finish (depending on your choice!)
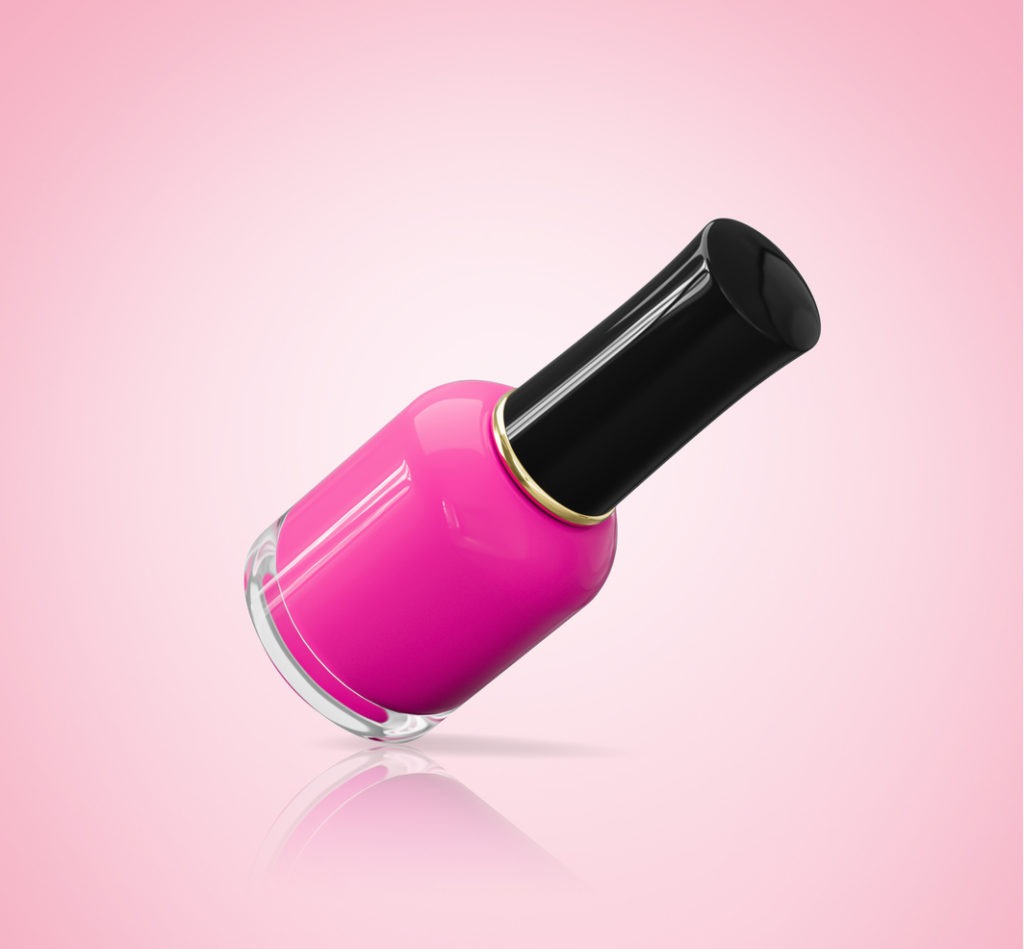
5. Hot Pink-colored Gel Polish
This is one of the two important tools for achieving the hot pink and glitter gel manicure–a hot pink-colored gel polish!
A gel polish is a colored liquid that is more durable than your regular nail polish. It has a thicker consistency made up of stronger ingredients and is cured using a UV LED lamp, allowing a tighter grasp on the nail. One good application of your hot pink gel polish can last a minimum of 2-3 weeks.
Since it’s durable and lasts long, it is certainly a perfect choice to use on your nails for your night parties.
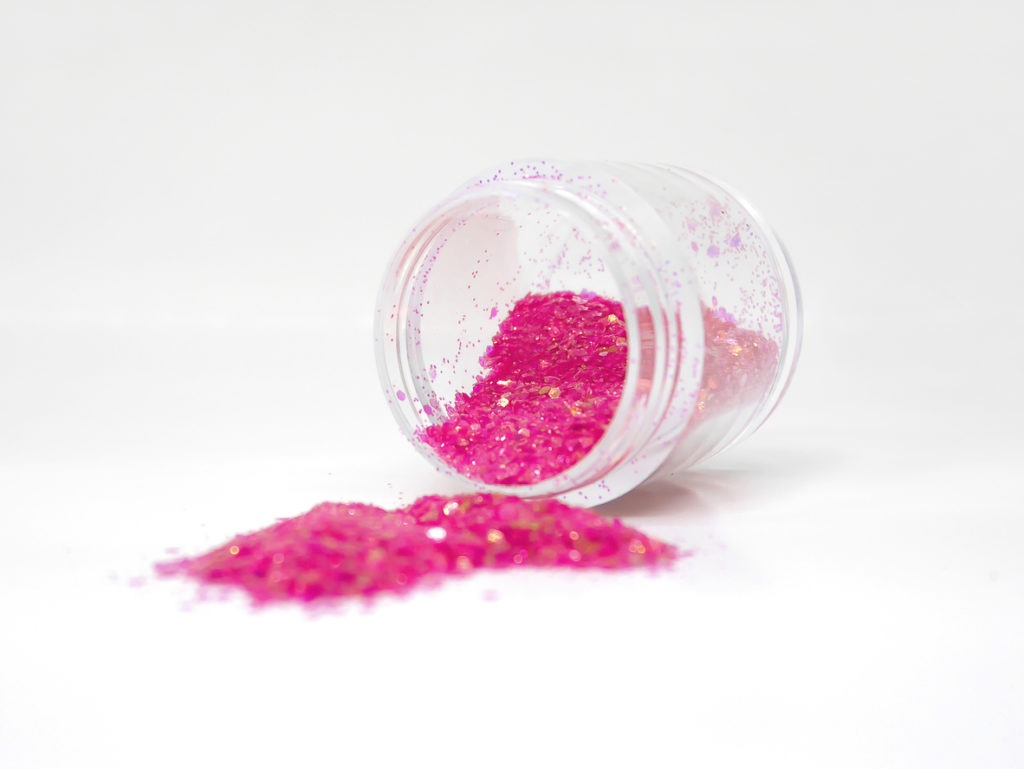
6. Hot Pink-colored Glitter
7. Tissue/Cotton pads, Orangewood stick, and Nail File
These three tools are also essential for your hot pink and glitter gel manicure goals. The tissue/cotton pads and the orangewood stick will be used to clean the surrounding areas of the nail to ensure a cleaner outcome. While the nail file will be used at the beginning of the process to shape the nails to your decided length.
Now that you have an idea of the supplies you will need for a hot pink and glitter gel manicure, let’s proceed to the methods!
Step 1: Prepare
Before settling down on your seat, ensure you have all your supplies. This is important because you might ruin your manicured nails while constantly getting up to get your other supplies.
Step 2: Trim and Shape
Trim and shape your nails depending on your desired length and shape. Make sure that you’re satisfied with them before proceeding to the next step to avoid constant repetitions.
Step 3: Cleanse and Prime
After trimming and shaping your nails, cleanse them using a gel nail cleanser and prime them using a gel primer to remove the natural oil and grease, making your nail perfectly suitable for gel polish adherence. Then, air-dry them for 30 seconds.
Step 4: Coat and Cure
This time, apply a thin layer of base coat on your nail. This will prevent the natural oil from contacting the gel polish. Ensure that you don’t get any base coat on your skin, as it may result in goopy gel bits hanging on your nail once hardened. Immediately clean the surrounding area with an orangewood stick to prevent this from happening. Then, allow them to cure under the UV LED lamp for 1-2 minutes.
Step 5: Paint and Cure
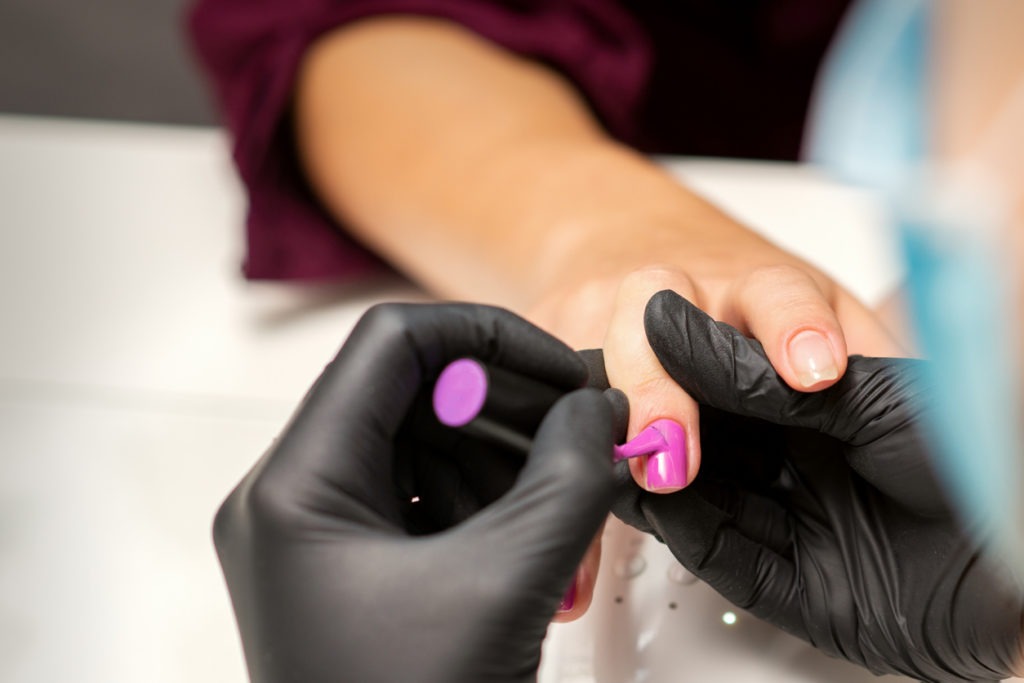
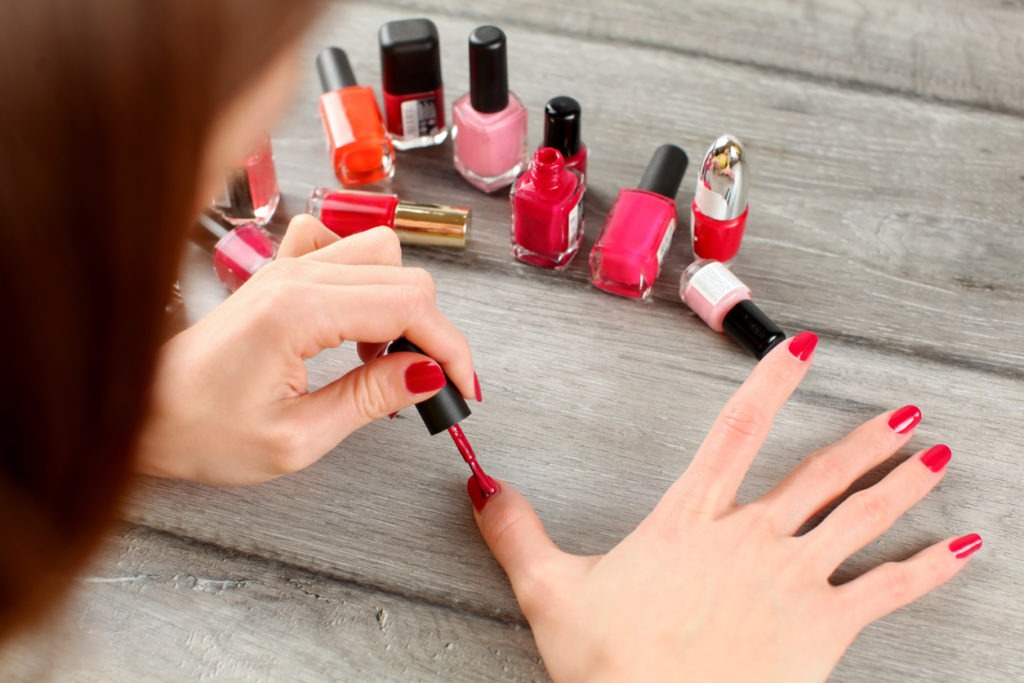
After curing, it’s time to apply a thin layer of your hot pink-colored gel polish on each of your nails. After which, cure them for 1-2 minutes.
Step 6: Paint and Sprinkle
Once all the nails are cured, apply another thin layer of the hot pink-colored gel polish to your thumb–and only your thumb. Then, sprinkle an even layer of your hot pink-colored glitters on top of the still-tacky gel polish.
Step 7: Pat and Cure
After ensuring that the whole thumbnail area is covered with glitters, gently pat them down and blow off any excess. Then cure for another 1-2 minutes.
Step 8: Clean, Coat, and Cure
After curing, use a tissue or cotton pad to clean the surrounding area of the nail from the excess glitters. After which, coat the nail with a medium-thick layer of top coat. Then cure–this time for 2-3 minutes.
Step 9: Wipe and File
After the curing process, you might notice that the nail surface is still tacky and that some glitter sticks out of your nail’s edges. Don’t worry because you can remove the tacky part using a tissue or a cotton pad with gel nail cleanser and smoothen the edges by filing the bits of stray glitter.
Step 10: Repeat and Repeat
Repeat steps 6-9 for the rest of your nails, and you’re done!
You can finally give your nails the exposure they deserve by painting them with hot pink-colored gel polish and glitter. With these steps, you’ll surely be able to slay and stand out on every night out with your friends. No more shame in bringing them up while dancing or holding your drink because with hot pink and glitter nails, you’ll have the confidence of a strong and independent woman.
